If you’ve tried curving text in Figma using the built-in tools, you may have realized something: Figma doesn’t support curved or circular text natively. But that doesn’t mean it’s impossible. With the help of plugins and a few creative workarounds, you can achieve beautiful curved text for logos, badges, labels, and decorative UI elements.
Here’s how to curve text in Figma using both plugin-based and manual methods.
Method 1: Use a Figma Plugin (Recommended)
The easiest and fastest way to curve text in Figma is by using a plugin from the Figma Community.
✅ Step-by-Step Using the “Arc” Plugin:
- Open the Figma file where you want to add curved text.
- Go to Resources (toolbar icon or
Shift + I) and search for “Arc” or “Curved Text.” - Click Install to add the plugin.
- Select your text layer.
- Go to Plugins > Arc (or right-click and choose it from the plugin menu).
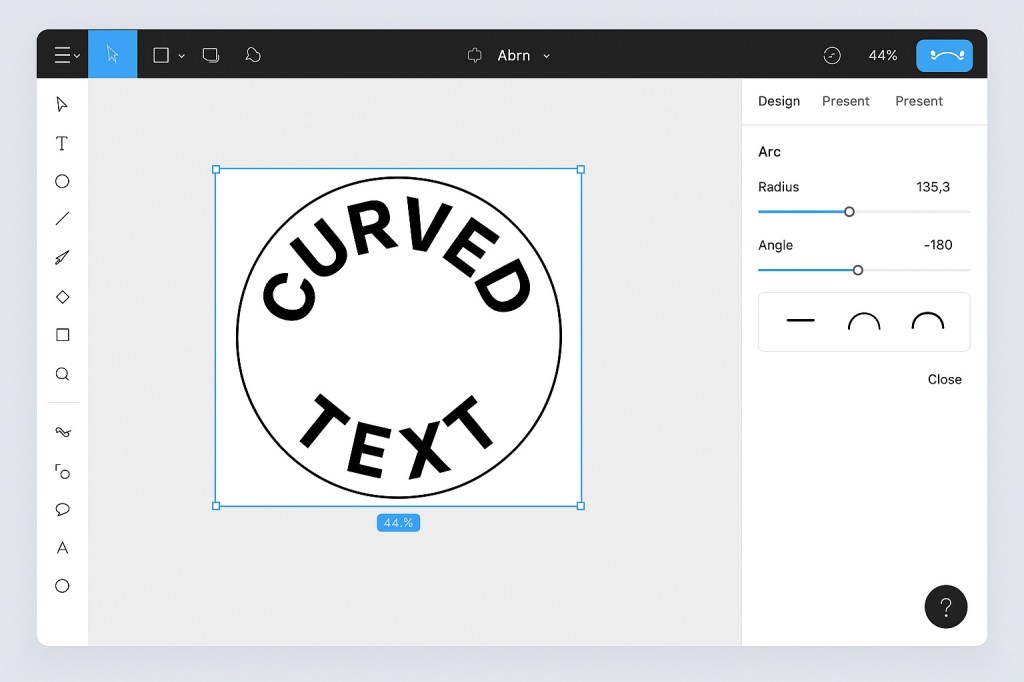
- Adjust the radius, angle, and direction using the plugin controls.
The plugin automatically bends your text along a circular arc based on the values you choose.
🔍 Popular Plugins to Try:
- Arc by Dave Williames
- Curved Text by Darshan Gajara
- Text on Circle by Sures Kumar
Each plugin has its own interface, but the concept is the same—curving text around a center point.
Method 2: Convert Text to Outlines (Manual Method)
If you need more control over individual letters or want to fine-tune the curve manually, try this method.
✅ Step-by-Step for Manual Curving:
- Type your text normally in Figma.
- Select the text and go to Right-click > Outline Stroke (or use
Cmd/Ctrl + Shift + O). - This converts the text into vector shapes.
- Arrange the individual letters along a circle, arc, or custom path by rotating and positioning them manually.
This technique is more labor-intensive but gives you full artistic freedom. It’s perfect for unique typographic designs like emblems, seals, or posters.
⚠️ Note: Once converted to outlines, the text is no longer editable—you can’t change the wording without redoing the shapes.
Tips for Curved Text in Figma
- Use guides or circles to help you align letters evenly around a path.
- Group your final result to keep your design organized.
- For badges or circular logos, combine curved text with stroke effects and icons.
- If you’re exporting for web, keep in mind that outlined text becomes vector graphics, not live text.
Final Thoughts
While Figma doesn’t have built-in curved text tools, plugins like Arc and Curved Text make it quick and easy to add that visual flair. For more customized or artistic results, outlining and manually adjusting each letter offers complete creative control. Whether you’re designing a logo, creating a sticker, or crafting an eye-catching header, curved text in Figma is totally possible—with the right approach.

