Dotted lines are often used in UI design to represent guides, dividers, or emphasize visual hierarchy in a subtle way. In Figma, creating a dotted line is simple once you understand how to use the Stroke settings. This tutorial walks you through creating clean, customizable dotted lines using the built-in “Dashed Line” feature.
Step 1: Draw a Line
Start by selecting the Line tool (L) from the top toolbar, or press L on your keyboard.
Click and drag on the canvas to draw a straight line. You can hold Shift while dragging to constrain the line to 45° increments.
Alternatively, you can use the Pen tool (P) to draw more custom paths.
Step 2: Open Stroke Settings
With the line selected:
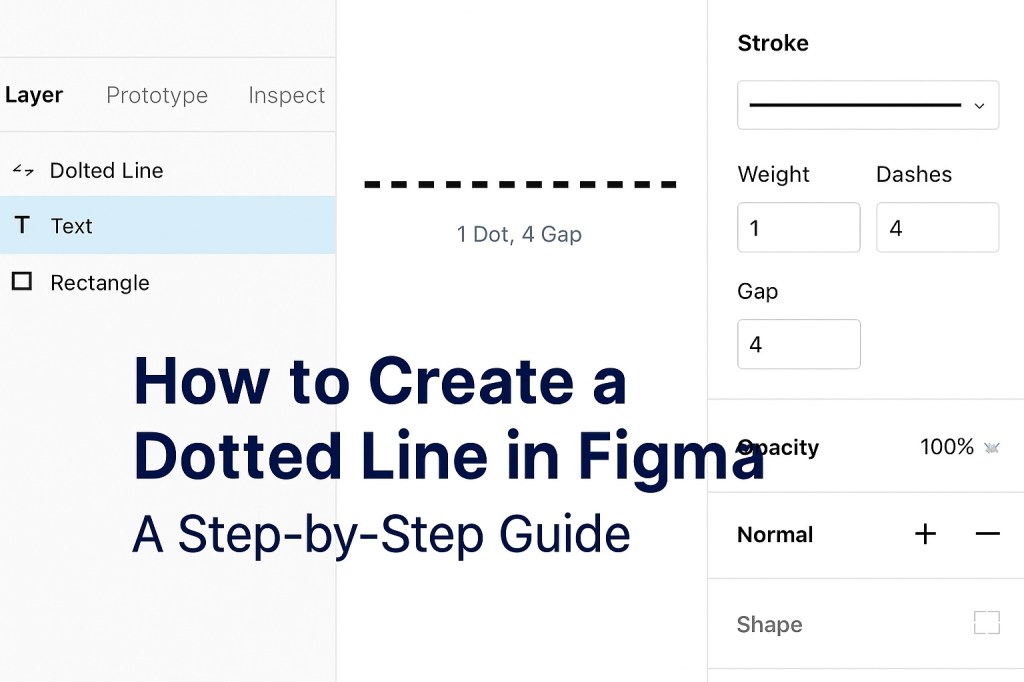
- Look at the right-hand properties panel under the Stroke section.
- Ensure a stroke is applied (you can set the weight, e.g., 2px or 4px).
- Now, click the three dots next to Stroke to expand advanced stroke settings.
Step 3: Enable Dashed Line
- In the expanded stroke options, check the “Dashed Line” checkbox.
- A set of input boxes will appear labeled as Dash and Gap.
To make a dotted line, enter the following values:
- Dash:
0 - Gap:
4(or adjust to your preferred spacing)
This tells Figma to draw a dot (0 length dash) followed by a 4-pixel gap. The size of the dot depends on the stroke weight, so increase it if the dots are too small.
Step 4: Customize as Needed
You can customize the appearance of your dotted line by:
- Adjusting the stroke weight for thicker or thinner dots.
- Changing the gap value for more or less spacing between dots.
- Applying stroke styles (solid, inside, center, outside) for objects with borders.
You can also apply dotted strokes to shapes and paths, not just straight lines.
Bonus Tip: Use Styles for Consistency
If you’re using dotted lines throughout your design:
- Save the stroke style as a component or shared style.
- This helps maintain consistency and speeds up your workflow when applying the same look elsewhere.
Final Thoughts
Creating dotted lines in Figma is straightforward once you understand how to manipulate stroke settings. With just a few adjustments, you can create everything from subtle dividers to attention-grabbing callouts. Incorporating dotted lines into your design toolkit adds visual versatility—use them wisely!

