Arrows in Figma are more than decorative lines—they’re useful tools for:
- Mapping user flows
- Explaining wireframes
- Annotating prototypes
- Creating diagrams and FigJam boards
But unlike traditional illustration tools, Figma doesn’t have a “draw arrow” button by default. So how do you add arrows efficiently?
In this guide, you’ll learn:
- The fastest ways to add arrows in Figma
- How to style and bend arrows
- How to use arrows in FigJam
- Pro tips for responsive arrows that stay connected
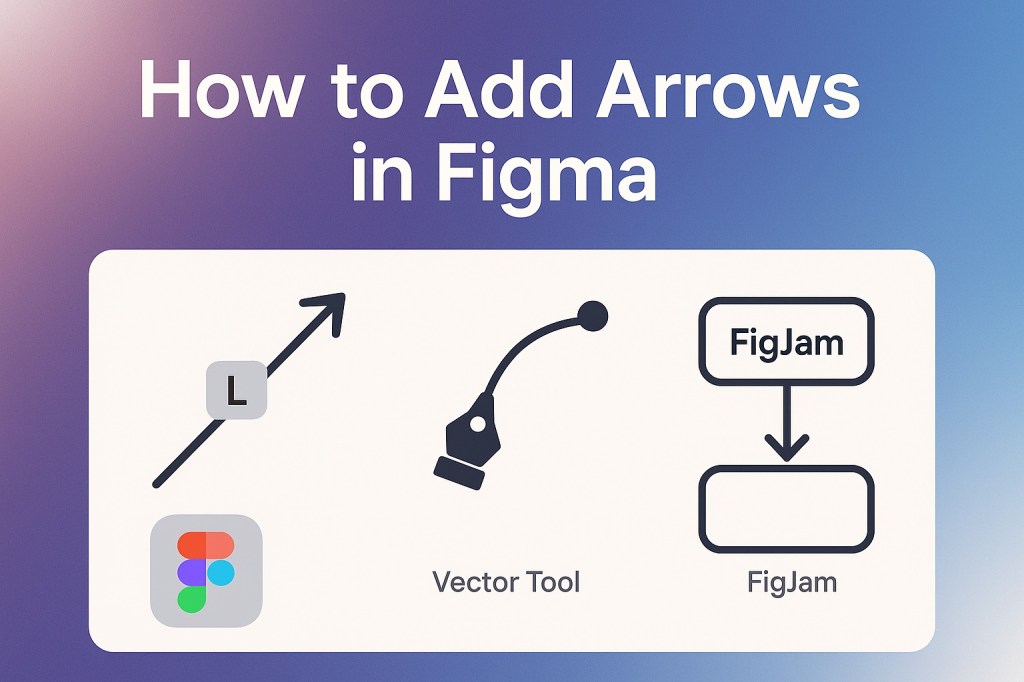
🎯 Method 1: Use the Line Tool with Arrowheads
The simplest method:
Steps:
- Press L to activate the Line Tool
- Click and drag on the canvas to draw a line
- With the line selected, go to the right sidebar
- Under Stroke, find the “Cap” dropdown
- Change “None” to “Arrow” (start, end, or both)
Now your line has arrowheads!
💡 You can adjust stroke weight, color, and style (solid, dashed, etc.) just like any shape.
🔁 Method 2: Use the Vector Tool for Curved Arrows
Want curved or bent arrows?
Steps:
- Press Shift + P to activate the Pen Tool
- Click to create points and curve the line
- Select the curve
- Add arrowheads under Stroke → Cap settings
Perfect for annotations, callouts, or complex flows.
🗺️ Method 3: Use Connectors in FigJam (for Flows & Diagrams)
In FigJam, Figma’s whiteboard tool, you get arrow connectors by default.
Steps:
- Click on a shape
- Hover until you see the connector dots on each side
- Drag to another shape—an arrow appears automatically
- Customize color, thickness, dash style, and arrow ends in the top bar
🧠 These connectors stay “linked” to the shapes—so if you move one, the arrow moves with it.
🧲 Pro Method: Arrows That Stick to Frames
If you’re diagramming in a Figma design file (not FigJam), you can simulate connectors with plugins or smart layout tricks.
Recommended Plugin:
- “Autoflow” — auto-draws arrows between selected frames or components
- Bonus: They stay attached as you move things around
🖼️ Bonus: Use Arrow Components
If you use arrows often (e.g., in UI walkthroughs or mockups):
- Create arrow components (straight, bent, curved)
- Use constraints or auto layout to make them responsive
- Save them in a “Visual Aids” or “UX Callouts” library
This gives you reusable, styled arrows that match your system.
🎨 Styling Tips for Better Arrows
- Use light gray for subtle arrows, black for emphasis
- Add drop shadows for depth in UI overlays
- Keep arrows thin and unobtrusive in flowcharts
- Use dashed arrows to indicate optional or secondary flows
- Add text labels next to arrows for clarity
🚫 What Not to Do
- ❌ Don’t create arrows with rectangles and triangles—it’s slow and unscalable
- ❌ Don’t manually reposition arrows without grouping—alignment gets messy
- ❌ Don’t forget mobile responsiveness—locked-position arrows can break layouts
🧭 In Summary: How to Add Arrows in Figma
| Use Case | Best Method |
|---|---|
| Simple directional arrows | Line Tool + Arrowheads |
| Curved or custom arrows | Pen Tool with Cap styling |
| User flows or diagrams | FigJam connectors |
| Auto-updating connections | Autoflow plugin |
| Reusable assets | Create arrow components |
Arrows help tell stories in your designs. Whether you’re mapping a journey, annotating feedback, or guiding developers, Figma gives you the tools (and tricks) to create arrows that feel effortless.
Explore more UI design strategies, smart annotation tips, and prototyping tools at Designilo.com.

