Whether you’re designing charts, diagrams, or illustrations, you may find yourself needing to fill the space between two lines in Figma. While Figma doesn’t have a “fill-between-lines” tool like vector illustration software, you can achieve this effect using shapes, vector editing, and boolean operations.
In this guide, you’ll learn 3 practical methods to fill the space between two lines — whether they’re curved, angled, or freeform.
🎯 What Does “Fill Between Lines” Mean?
This technique involves creating a shape bounded by two lines (often curves or angles) and filling that enclosed area with a color, gradient, or texture. Common use cases include:
- Highlighting an area between two curves
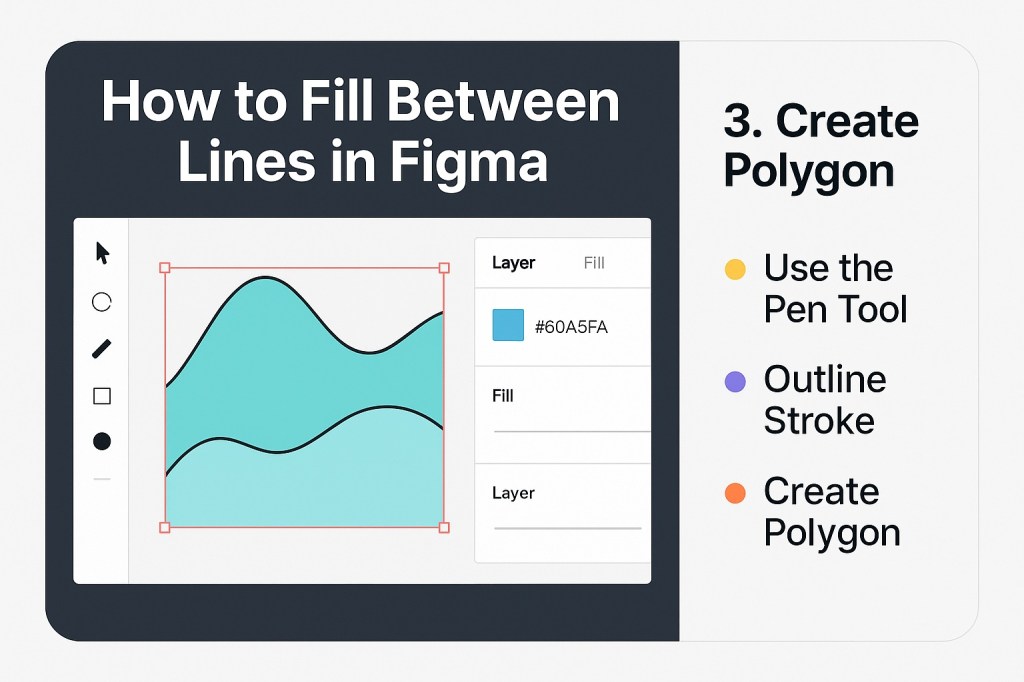
- Filling the space under a line chart
- Creating layered effects or shaded areas in illustrations
✅ Method 1: Use the Pen Tool to Draw a Custom Fill
This is the most flexible method.
Steps:
- Select the Pen Tool (P).
- Click to draw along the first line.
- Continue along the second line (in reverse direction).
- Close the path to create a full shape.
- Fill it with color using the Fill property.
💡 Tip: Use Snap to Geometry and Smart Guides to keep the path aligned.
✂️ Method 2: Convert Lines to Outlines and Use Boolean “Union”
This method is great for more geometric line pairs.
Steps:
- Select each line.
- From the top menu: Right click → Outline Stroke.
- Select both outlined shapes.
- Use Boolean → Union (⌘⌥G or Ctrl+Alt+G).
- Use the Intersect or Subtract operations to refine the filled area.
🎨 You can now fill the combined shape with any color or gradient.
📐 Method 3: Create a Polygon Between Lines
If your lines are straight and form clear edges, you can create a polygon to simulate the fill.
Steps:
- Use the Line Tool (L) or Pen Tool (P) to draw a closed polygon between the two lines.
- Align it with the endpoints of each line.
- Fill the polygon using the Fill property in the right panel.
This is faster for grid-based or chart-style designs.
💡 Advanced Tips
| Tip | Why It Helps |
|---|---|
| Use layers and naming | Helps manage complex shapes |
| Apply gradients to fills | Adds visual depth |
| Use blur or transparency | For subtle highlight effects |
| Mask fills | When combining with photos or textures |
🚫 Common Mistakes to Avoid
- Leaving gaps between the endpoints — always snap to grid or anchor points
- Forgetting to close the path — unclosed paths won’t allow a fill
- Overlapping strokes — which can interfere with the final shape if not cleaned up
✅ Summary: How to Fill Between Lines in Figma
| Method | Best For |
|---|---|
| Pen Tool | Freeform or curved lines |
| Outline Stroke + Boolean | Complex line intersections |
| Manual Polygon | Straight or angular fills |
With a little vector editing knowledge, Figma becomes a surprisingly powerful tool for precision fills between lines. Whether you’re working on charts or illustrations, these techniques will give you full control over the visual space between elements.
Want more Figma design tricks? Explore Dev Mode, multistate components, and productivity workflows at Designilo.com.

