Creating a library in Figma is a crucial step for any team or designer looking to build scalable, reusable design systems. A Figma library allows you to centralize components, styles, variables, and assets across multiple files—ensuring consistency and speeding up your workflow.
In this guide, we’ll walk you through how to create a new library in Figma from scratch, and how to publish it for use across your design projects.
✅ What Is a Figma Library?
A Figma library is a Figma file that contains reusable design assets—like components, text styles, color variables, and icons—that you can share across other Figma files.
Libraries are especially powerful for:
- Design systems
- Multi-brand product design
- Team collaboration
- Developer handoff
🛠️ How to Create a New Library in Figma
Step 1: Create a New File
- Open Figma.
- Click the + New File button from the Drafts or any project folder.
- Give your file a clear name like “Design System Library” or “Component Library.”
Step 2: Build Components and Styles
Inside this file, start adding your reusable design assets:
- Components: Buttons, cards, navigation bars, modals, etc.
- Text Styles: Headings, body text, captions.
- Color Styles / Variables: Brand colors, backgrounds, borders.
- Effect Styles: Shadows, blurs, elevation layers.
- Grid / Layout Styles: Spacing systems.
Use Ctrl/Cmd + Alt + K to create components from selected elements.
💡 Tip: Use Auto Layout, Variables, and Variants for maximum flexibility.
Step 3: Organize with Pages and Naming
- Create dedicated pages like:
ComponentsTypographyColorsIconsTokens
- Name your components and styles clearly (e.g.,
Button/Primary,Text/H1/Light).
Step 4: Publish the Library
Once you’re happy with your setup:
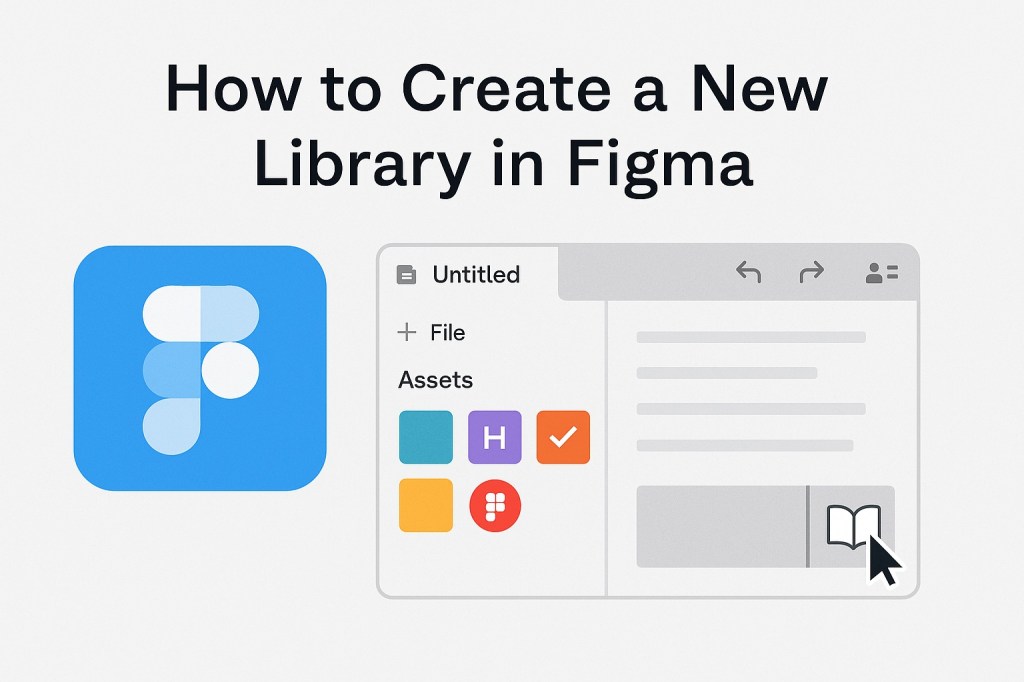
- Click the Assets panel (top-left sidebar).
- Click the Library icon (book symbol).
- Select the “Publish” button in the Library modal.
- Review the styles and components being published.
- Add a description for version control (optional).
- Click Publish.
Your new library is now available for other files in the same workspace.
🔗 How to Use the Library in Other Files
- Open a Figma file where you want to use the library.
- Click the Assets tab.
- Click the Library icon.
- Toggle on your newly published library.
- You can now drag and drop components, use styles, and reference tokens from the library.
🧩 Why Libraries Matter
- Maintain consistency across your entire product ecosystem.
- Enable collaboration among designers, developers, and stakeholders.
- Update once, sync everywhere—changes to a library component propagate across all files using it.
📝 Summary
Creating a Figma library is a foundational step in building efficient, scalable design systems. By centralizing your styles, components, and assets in one place, you empower your team to design faster and stay consistent—no matter how many projects you’re managing.

