Introduction: Why Figma?
Figma has become the go-to design tool for modern UI and UX designers—and for good reason. It’s free to start, works directly in your browser, and makes real-time collaboration effortless. Whether you’re designing your first mobile app interface or sketching out website wireframes, Figma offers a friendly yet powerful space to bring your ideas to life.
This beginner’s guide will walk you through the essentials of Figma: what it is, how it works, and how to start designing with confidence.
What Is Figma?
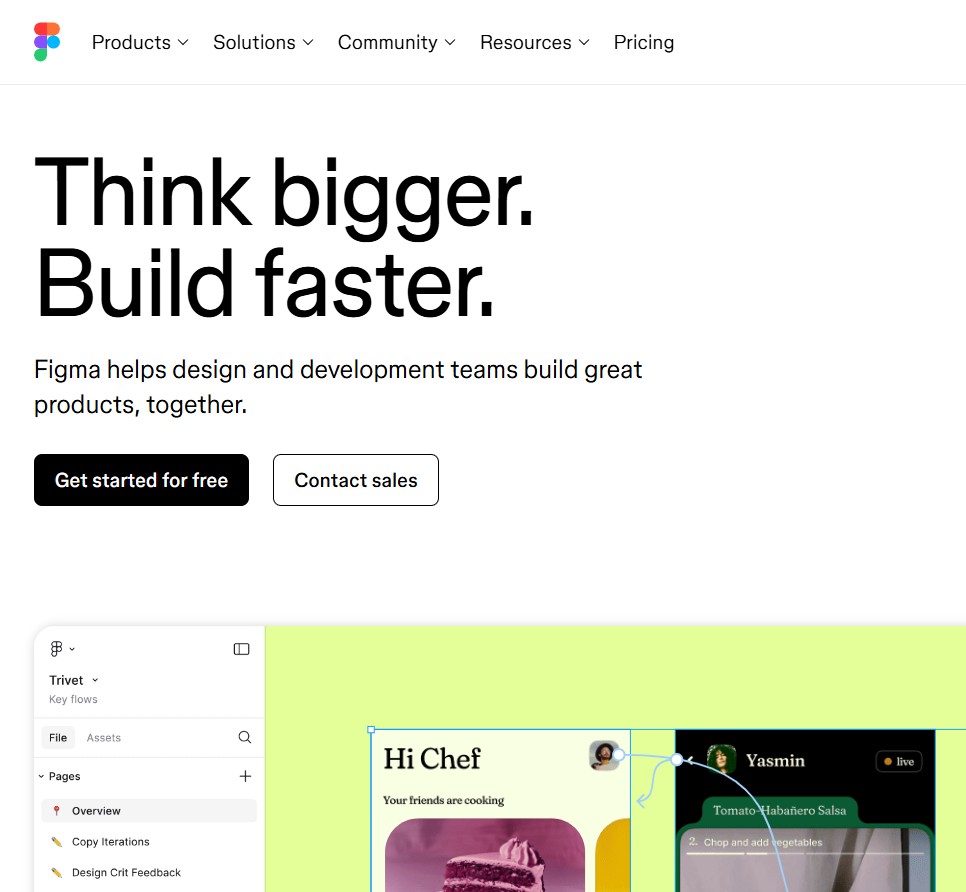
At its core, Figma is a browser-based interface design tool that allows individuals and teams to collaborate on design projects in real time. Unlike traditional desktop tools like Adobe XD or Sketch, Figma is cloud-based—no installations, no syncing headaches.
Key Features:
- Real-time collaboration (like Google Docs for design)
- Cross-platform (Windows, Mac, Linux—anything with a browser)
- Auto Layout & Constraints for responsive design
- Design Systems & Component Libraries
- Interactive Prototyping tools
Creating a Free Account
To get started:
- Visit figma.com.
- Click “Get started” or “Sign up.”
- Choose Google sign-in or create an account with email.
Once you’re in, you’ll land on your Figma dashboard, where you can create new design files, access templates, and explore community resources.
Understanding the Figma Interface
Let’s break down the main parts of the UI:
1. Canvas
This is your main workspace. It’s infinite, so you can scroll in any direction and create multiple frames (screens) for different designs.
2. Toolbar
Across the top: tools for selecting, framing, adding shapes/text, and prototyping.
3. Layers & Assets Panel
On the left: layers and components used in your design. Think of this like Photoshop’s layers panel.
4. Properties Panel
On the right: controls for alignment, color, sizing, typography, auto layout, and more.
First Project: Design a Simple Mobile Screen
Let’s walk through building a simple login screen for a mobile app.
Step 1: Create a New Frame
- Select the Frame Tool (F) from the top bar.
- In the right panel, choose a preset size like iPhone 13.
Step 2: Add a Header
- Select the Text Tool (T) and click on the frame.
- Type “Welcome Back!” and choose a large bold font (e.g., 32px, Inter Bold).
- Align it to the top center.
Step 3: Add Input Fields
- Use the Rectangle Tool (R) to draw input boxes.
- Label them with text: “Email” and “Password.”
- Round the corners (8px radius) and use light gray borders.
Step 4: Add a Button
- Create another rectangle and center it below the inputs.
- Fill it with your primary color (e.g., #3B82F6).
- Add white text: “Log In”
Step 5: Group and Align
- Use Shift + click to select related items.
- Use the alignment tools to center and space elements evenly.
Working with Components
A component is a reusable element—like a button or navigation bar. Once you create a component, you can use instances of it across your design. If you update the main component, all instances update too.
To create one:
- Select an element or group.
- Right-click → “Create Component” or use shortcut Ctrl/Cmd + Alt + K.
How to Share Your Work
One of Figma’s most powerful features is easy collaboration:
- Click Share in the top-right corner.
- Set link access permissions (view or edit).
- Invite collaborators by email or share a public link.
No need to export static files or sync folders—your work is always live and up to date.
Extra Tips for Beginners
- Use keyboard shortcuts: They’ll speed up your workflow tremendously.
- Explore the Figma Community: Download free templates, UI kits, icon sets, and more.
- Use Version History: You can always revert to earlier versions.
- Learn Auto Layout early: It helps with responsive designs and scaling interfaces.
Final Thoughts
Starting with Figma is the beginning of a powerful design journey. The platform is intuitive enough for beginners, yet robust enough to handle complex design systems and developer handoff workflows. Once you’ve created a few basic screens, you’ll be ready to dive into prototyping, advanced components, and team collaboration.
Stay tuned for our next article: “10 Figma Tools You’ll Use Every Day” — where we’ll dive into practical tools that’ll make your design workflow faster and more effective.

